top of page
1. Define the Problem
Use the design process to design, document, and create a 3D printed model of a posable figure utilizing snap fits and interchangeable parts

2. Generate Concepts
Using a decision making matrix to achieve a data driven solution to for the best design of a snap fit by taking the emotion out of decision making


3. Develop a Solution
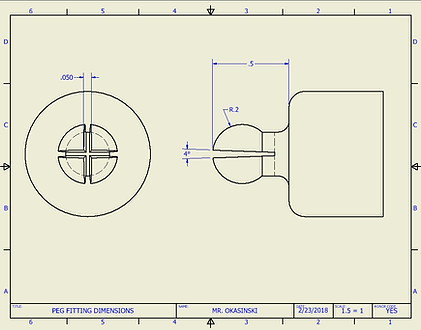
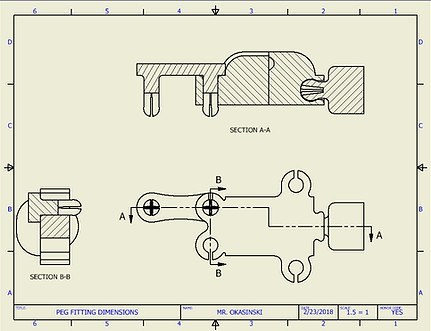
Using a Gantt chart to create a plan to accomplish the goal in 10 days. Section and detail views ensure that all parts will fit together with an acceptable tolerance.


4. Construct and Test a Prototype
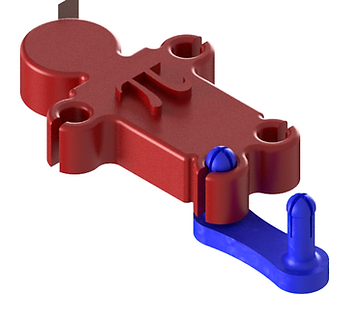
Prototypes are first modeled in Autodesk Inventor before 3D printing resulting in a shorter design cycle that allows more iterations to reach the best solution


6. Present the Solution
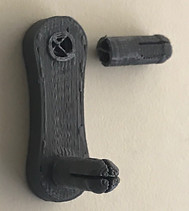
This is the final prototype of the 3D printed posable figure. It was printed on a Makerbot Replicator using tough PLA.

bottom of page